Butterfinger Cake Balls: The Ultimate Guide
Indulge in the delicious world of Butterfinger Cake Balls, where the rich flavors of chocolate and peanut butter collide in a bite-sized treat. In this comprehensive guide, we’ll explore everything you need to know about making and enjoying these delectable delights.
Understanding the Essence of Butterfinger Cake Balls
What Are Butterfinger Cake Balls?
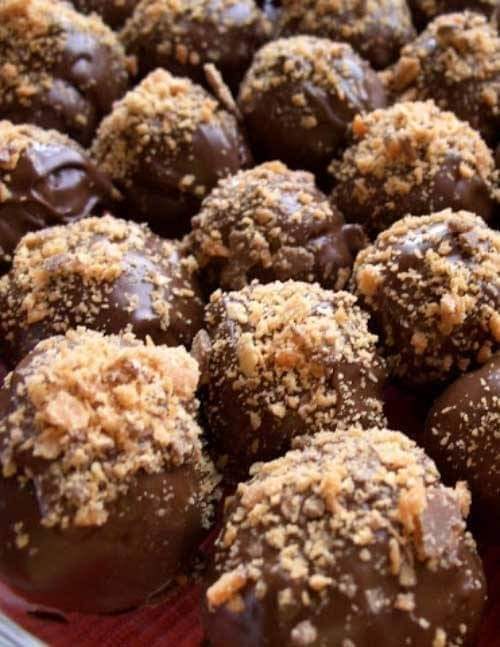
Butterfinger Cake Balls are bite-sized confections made from crumbled cake mixed with creamy frosting and coated in a layer of melted chocolate. The addition of crushed Butterfinger candy bars provides a crunchy texture and a burst of sweet, peanut butter flavor.
Why Choose Butterfinger Cake Balls?
- Irresistible Flavor: The combination of chocolate, peanut butter, and Butterfinger candy creates a flavor explosion that tantalizes the taste buds.
- Convenient Size: These bite-sized treats are perfect for snacking or serving at parties, offering a satisfying indulgence without the guilt of a full-sized dessert.
- Versatility: Butterfinger Cake Balls can be customized with different cake flavors, frosting varieties, and toppings, allowing for endless creative possibilities.
How to Make Butterfinger Cake Balls
Creating Butterfinger Cake Balls is a simple and rewarding process. Follow these steps for mouthwatering results:
Ingredients:
- 1 box of chocolate cake mix (plus required ingredients)
- 1 cup of creamy peanut butter
- 1/2 cup of unsalted butter, softened
- 2 cups of powdered sugar
- 12 ounces of semi-sweet chocolate chips
- 6 Butterfinger candy bars, crushed
Instructions:
- Bake the Cake: Prepare the chocolate cake mix according to package instructions. Once baked and cooled, crumble the cake into a large mixing bowl.
- Prepare the Frosting: In a separate bowl, combine the creamy peanut butter, softened butter, and powdered sugar until smooth and creamy.
- Mix the Cake and Frosting: Add the peanut butter frosting to the crumbled cake and mix until well combined. The mixture should hold together when pressed.
- Form the Cake Balls: Using your hands, roll the cake mixture into small balls, approximately one inch in diameter. Place the balls on a baking sheet lined with parchment paper.
- Chill the Cake Balls: Place the baking sheet in the refrigerator for 30 minutes to allow the cake balls to firm up.
- Coat in Chocolate: Melt the semi-sweet chocolate chips in the microwave or over a double boiler. Dip each chilled cake ball into the melted chocolate, ensuring it is fully coated. Use a fork to lift the coated ball out of the chocolate, allowing any excess to drip off.
- Add Butterfinger Topping: While the chocolate coating is still wet, sprinkle crushed Butterfinger candy bars over the top of each cake ball.
- Chill and Serve: Return the coated cake balls to the refrigerator to set the chocolate coating. Once firm, they are ready to be enjoyed!
Tips for Success:
- Use a food processor to quickly and evenly crush the Butterfinger candy bars.
- For a smoother texture, pulse the cake mixture in a food processor before rolling into balls.
- Experiment with different cake flavors and frosting combinations to find your favorite variation.
Serving and Storage Suggestions
Serving:
- Arrange Butterfinger Cake Balls on a decorative platter for a stunning presentation at parties or gatherings.
- Pair with a glass of milk or a cup of coffee for a delightful snack any time of day.
Storage:
- Store leftover cake balls in an airtight container in the refrigerator for up to one week.
- For longer storage, place the container in the freezer for up to three months. Allow the cake balls to thaw in the refrigerator before serving.
Conclusion
Butterfinger Cake Balls offer a delightful combination of flavors and textures that are sure to satisfy any sweet tooth. Whether enjoyed as a special treat or shared with friends and family, these bite-sized delights are guaranteed to be a hit. Experiment with different variations and make them a staple in your dessert repertoire today!